Ever since the Calendar Super Bundle with the 2010 Calendar brush set was released I've been on a calendar kick!
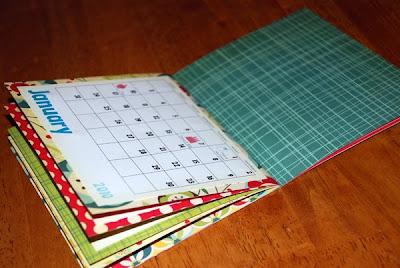
 "Anonymous" commented in my last calendar post asking for some direction on making calendars. Well, I am happy to share! Follow along to find out how I made the above adorable calendar. There are three parts to this: The making of the booklet, Creating the calendar and Putting it all together.
The Making of the Booklet
Ok, so this is a fun way to put together a little booklet. I started with double-sided 12" x 12" scrapbook paper. For my calendar I needed 7 pieces of 6" x 10.5" paper. So all I needed was three and a half scrapbook papers cut like I pictured below.
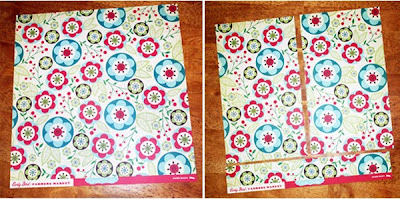 Since it's double sided, it's like I had seven different papers.
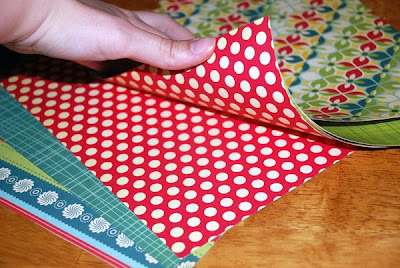
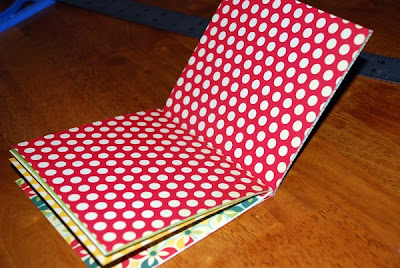
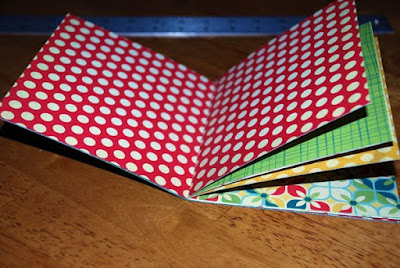
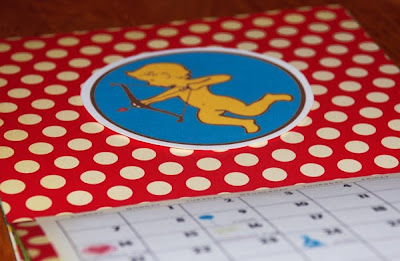
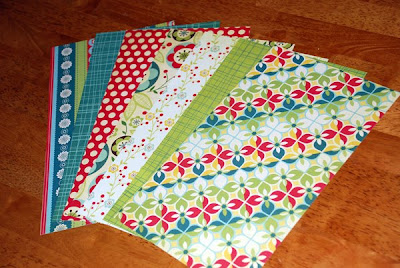 But it's even better than that! Since we're making a booklet, I made sure to flip matching pieces of paper to face each other. I especially wanted February to have the red polka dotted paper.
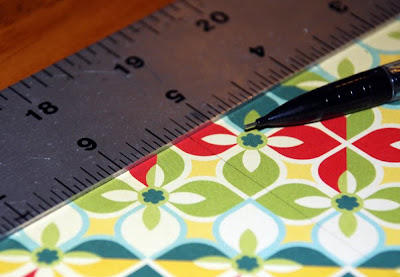
 Next I needed to fold each paper in half. I wanted to be precise about it, so I measured exactly 5.25" and penciled in a light line with the help of a ruler.
 Then I lined the ruler up exactly along the line I drew, held the ruler down firmly with one hand and gently pressed the paper up against the ruler with the other. I folded it exactly along the edge of the ruler so I would have a crisp fold. Once the fold was dented, I removed the ruler and firmly pressed the crease.
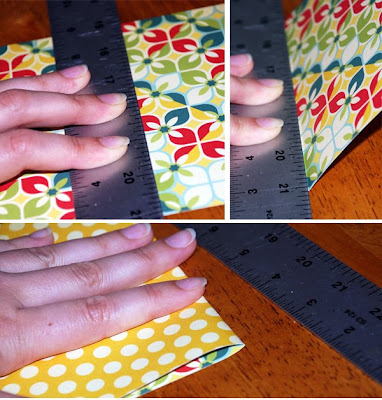 I did that with all seven of my papers, then I arranged them in the order I wanted them for my calendar.
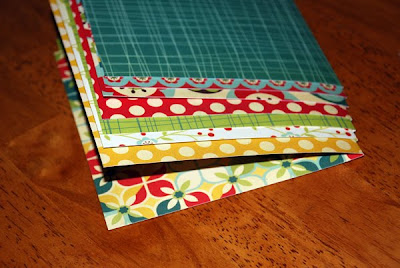 Let's see... cover, January, February...
If you happen to have an industrial strength stapler, binding these pages together would be quick and easy. Since I do not have an industrial strength stapler (and I rather think I wouldn't use it if I had one because I think the alternative is much cuter and more personable), I'm going to sew the papers together!
To start, I will draw five little dots, one inch apart, right along the middle crease of the middle paper. After I draw the dots, I'll use a needle and gently push it through all seven papers on the dots to make holes. Watch out for fingers!
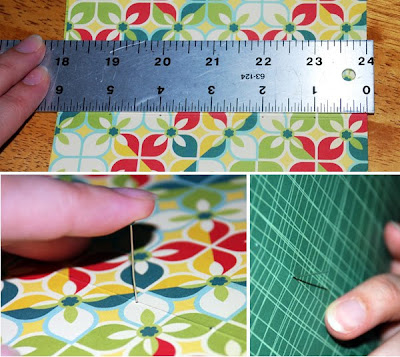 Carefully holding all the papers together, I then take a needle and thread it through one way, then back over itself the other way. With five holes I know I'm going to end up with the two thread ends in the same place.
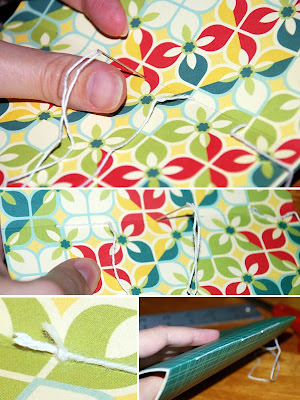 And so I will tie a knot. ("Right over left and left over right makes a knot sturdy and tight" ...no matter how many times I tie a knot, that always goes through my head.)
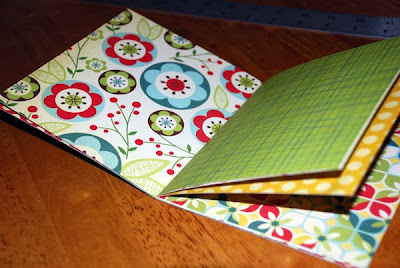 Isn't this so fun! It's at this point where I get giddy and excited for the possibilities. I play with my little booklet and dream of it's future and think, "When you grow up, you could be a scrapbook or a storybook or an extended greeting card...." Oh right. I'm making a calendar. February, you still there?
Creating the Calendar
I used Photoshop to make my calendar. If you don't have Photoshop, follow along and you might be able to figure out how to do something similar in a program you have. OR you could just print out the pre-made calendar pngs in the 2010 Calendar Brush set and skip this whole section.
Here we go. First I opened a new file and sized it to size to 5.5" x 4.75" which is the size I want my calendars to be. Then I copied and pasted the blank month calendar template png in the 2010 Calendar brush set and scaled it to fit in my file. Hint: hold the shift key down while scaling the image to keep the proportions consistent.
Second, I typed a 1 and made several copies of it so each number was on a new layer. Then I changed the numbers to be in chronological order. To align and evenly space out the numbers, I put the far right and far left numbers approximately where I wanted them, selected all the numbers, hit the "align bottom edges" button, then hit the "distribute horizontal centers" button. (If these buttons are not visible, go to Layer > Align > and you will see these options.)
 I did that with numbers 3-9 below. Then, after they were evenly distributed, I selected the whole row and while holding the Alt key down, I dragged the whole row down to the next calendar week. Holding the Alt key makes copies. I repeated this until all the rows were filled.
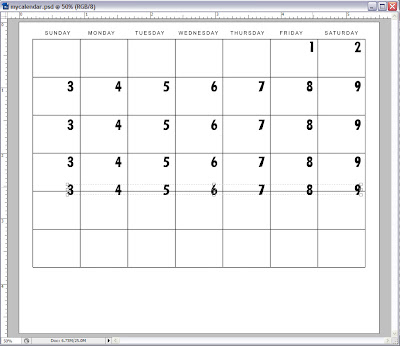 Then I went back and fixed the numbers so they would be right for January.
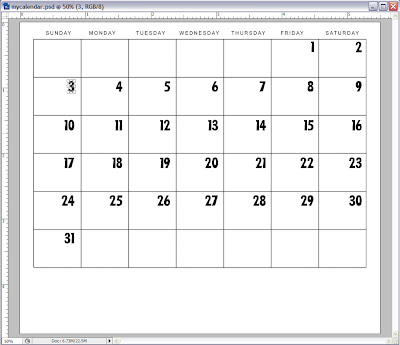 I used LD Little Fishie for my font, but this is totally cute with any of the fonts in the Date It Calendar Super Bundle. I know. I tried them all. It's so hard to decide on a font when you love them ALL. Next I added the month and year.
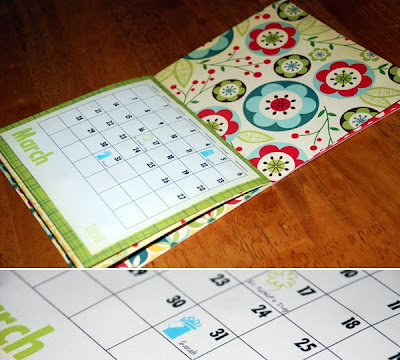
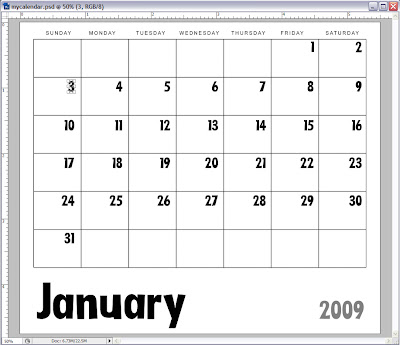 Whoops! Let's get the year right, shall we? And while I'm at it, I'll add a little color and some holidays and all those birthdays I don't want to forget.
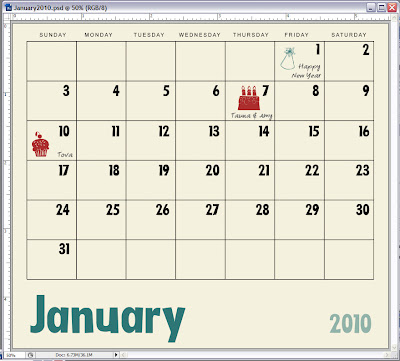 After I save this (as a psd file and a jpg, just to be safe), it's easy to do the rest of the months just by shifting the columns of numbers. There are always seven days in a week, so the columns of numbers never change, just their order in the rows. To print, I opened two months of jpgs in a new document so I could print two on one page. You know, save paper, I'm all economical like that.
Putting it all together
Yay! So exciting! Here is what I have now:
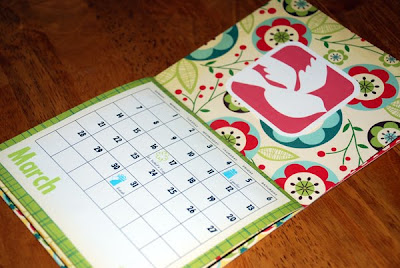
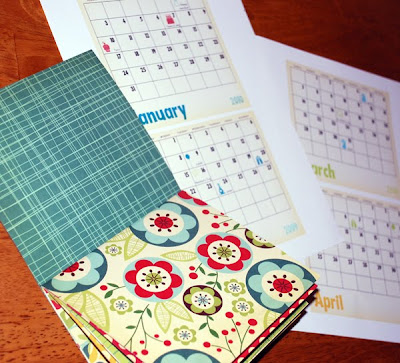 It's time to cut out the calendars and glue them in place.
No comments:
Post a Comment